Mazda Infotainment Touchscreen Problem

A recent infotainment touchscreen fault is the only problem I’ve had with my 2014 Mazda 3 hatchback in 5 years of ownership. At a standstill the touchscreen would became erratic and take on a mind of its own, making random selections from the various menus. Typically it would repeatedly (and embarrasingly!) phone contacts by the bluetooth connection, change the audio source and make the satnav unusable. It was impossible to navigate away. The short clip shows a problem on the sound settings page.

A search revealed that this has been a problem affecting some owners over the years. There was no problem whilst driving. The infotainment touchscreen enables at very slow speeds or at a standstill as a safety feature.

Fortunately there’s a workaround to disable the touchscreen and just use the manual control dial. This has worked perfectly for me and best of all its free. Not being able to use the touchscreen is only a minor inconvenience. As ever there’s plenty of information on YouTube and I found this video by martinc950 very helpful. Here’s a summary of how I got on.

removing trim on mazda 3 dash
Working from the passenger side window I carefully popped the retaining clips using a trim removal tool
withdrawing trim from mazda 3 dash
The trim was withdrawn to….
mazda 3 electrical connections on dash
reveal the white plug which was disconnected allowing removal.
preparing to remove infotainment touchscreen
Next, the securing bolt (between the vents) was removed using a 10 mm socket on an extension.
removal of chassis and screen unit
The screen/chassis unit was extremely tight and were secured by adhesive tape but eventually loosened. The two phillips screws on both retaining brackets were then removed.
cables unplugged from screen
The two cables were unplugged and the screen removed.
case and chassis unit removed
The case is fastened to the chassis by four screws; two at the back and two underneath. Again the two parts are very tight due to the use of adhesive tape and need to be gently prised apart.
orange ribbon cable unplugged
The orange ribbon cable was unplugged and the exposed contacts covered with insulation tape.
orange ribbon cable tucked away
The cable was then tucked away behind the board and and the parts reassembled.

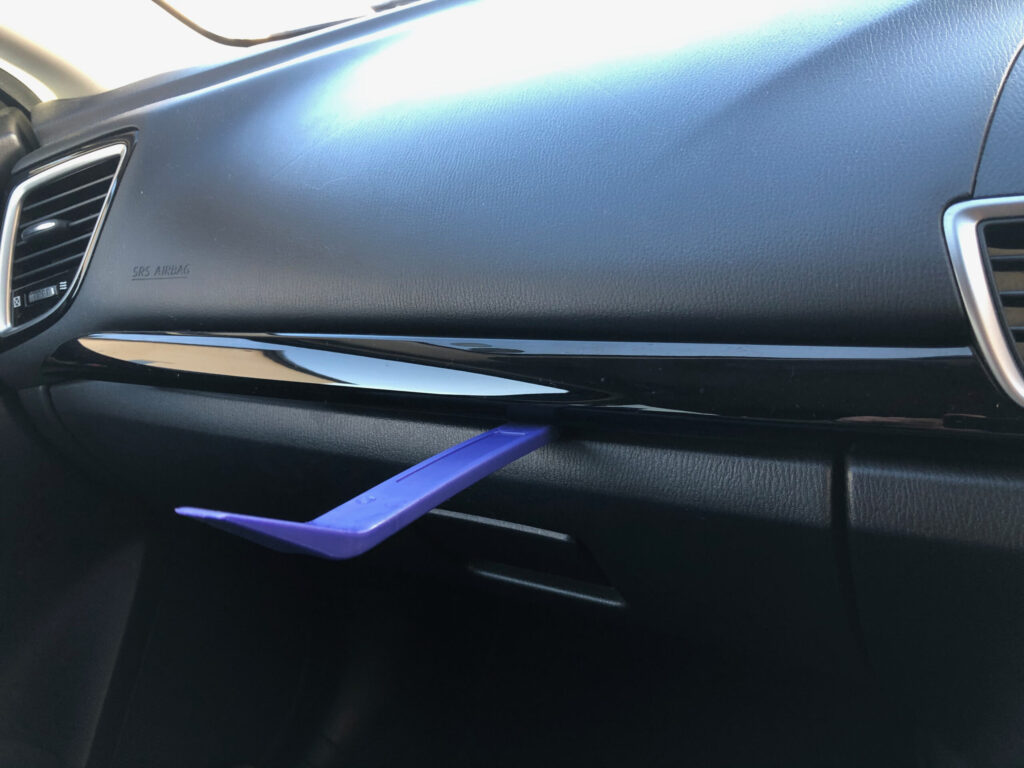
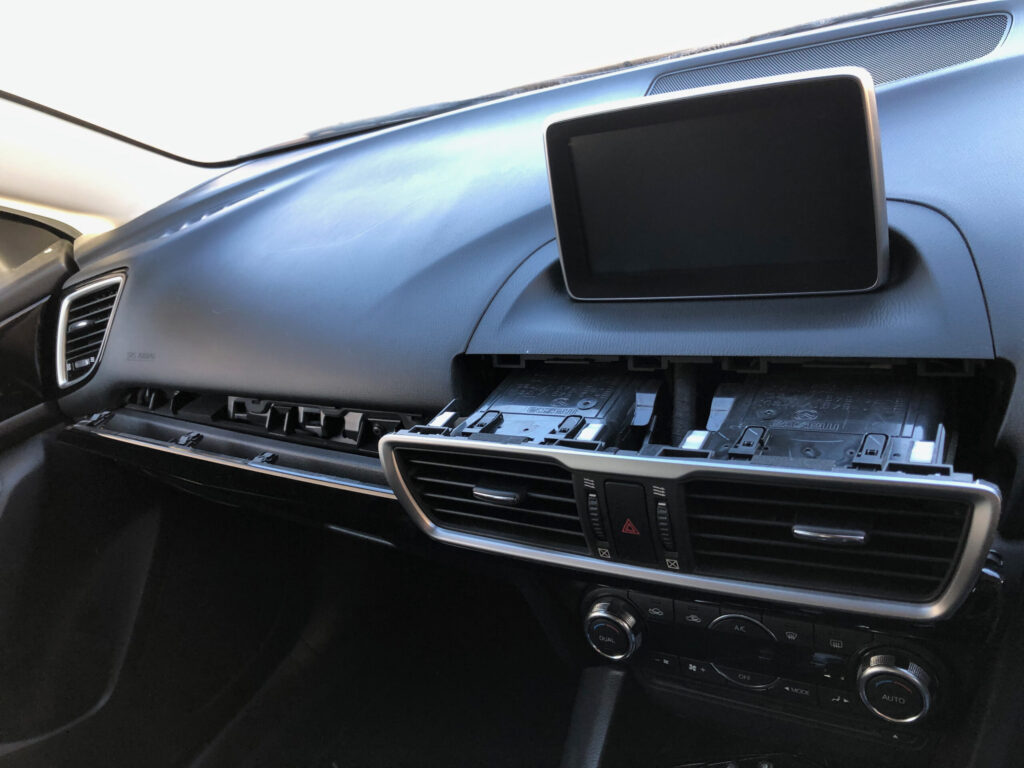
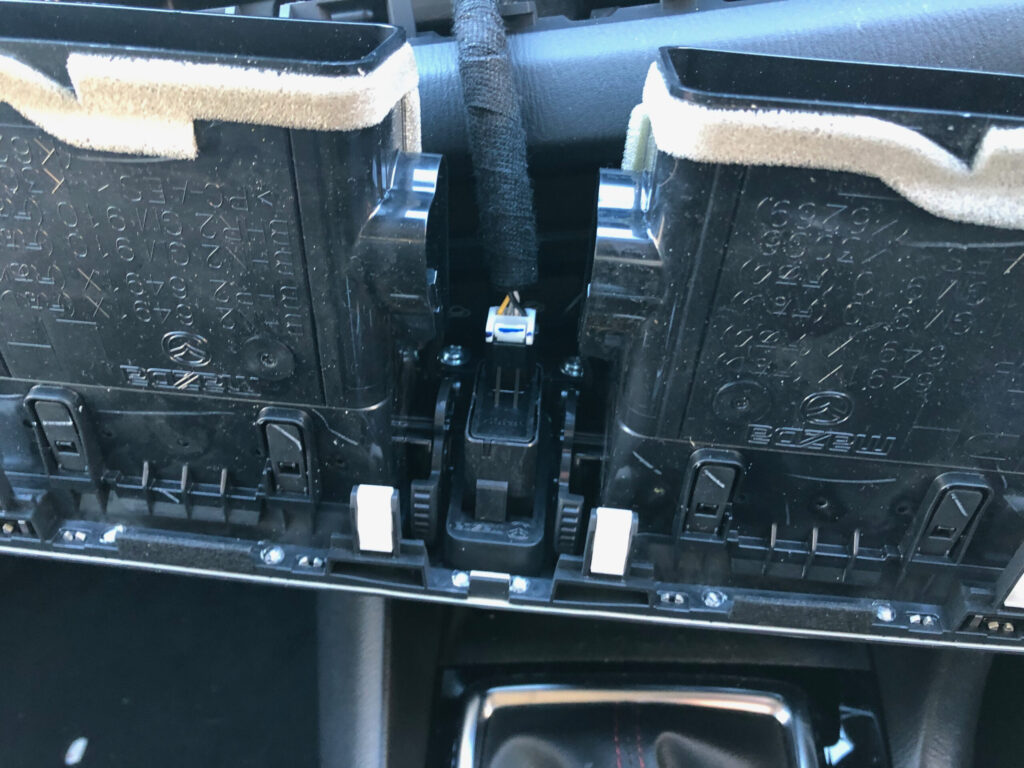
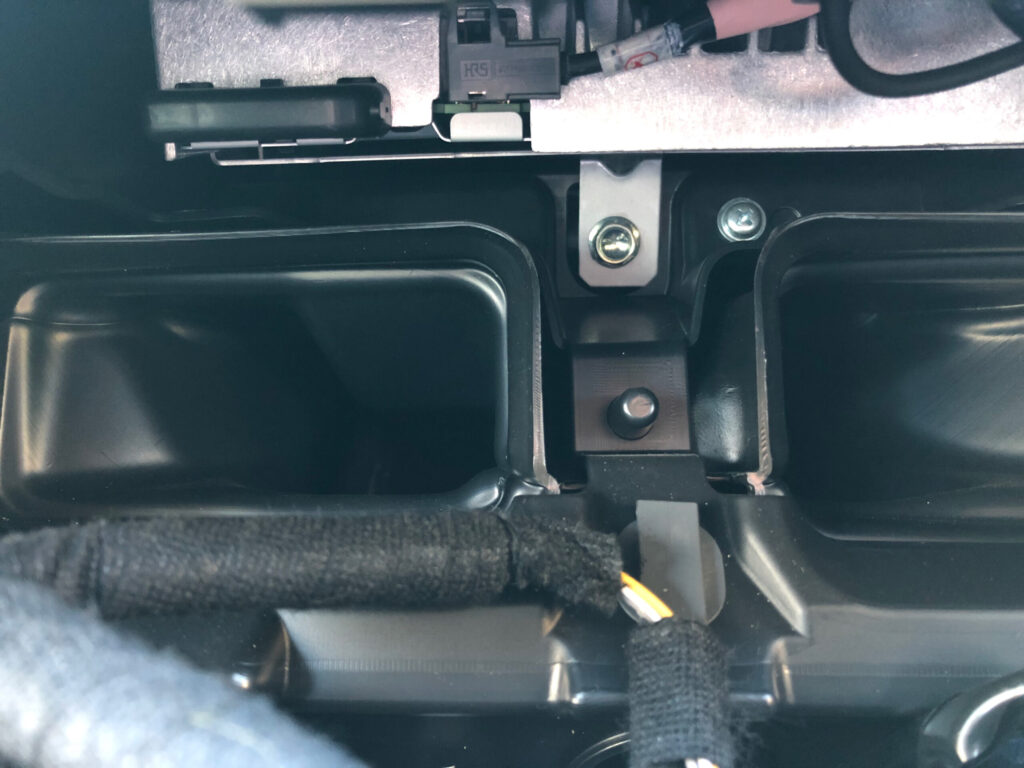
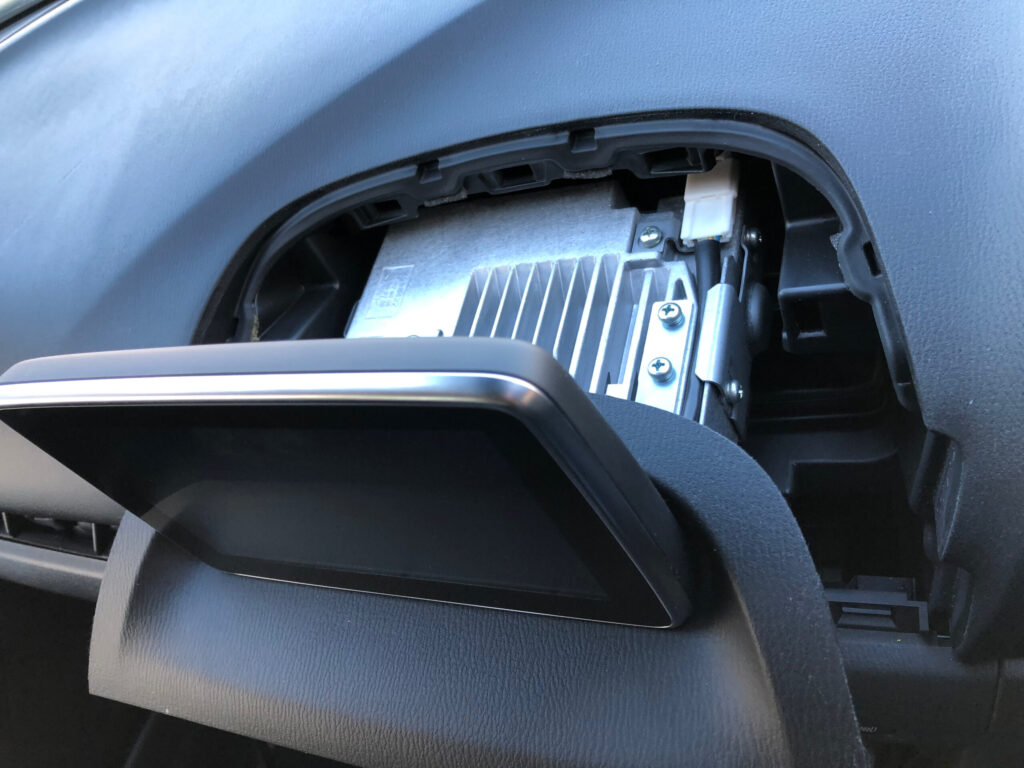
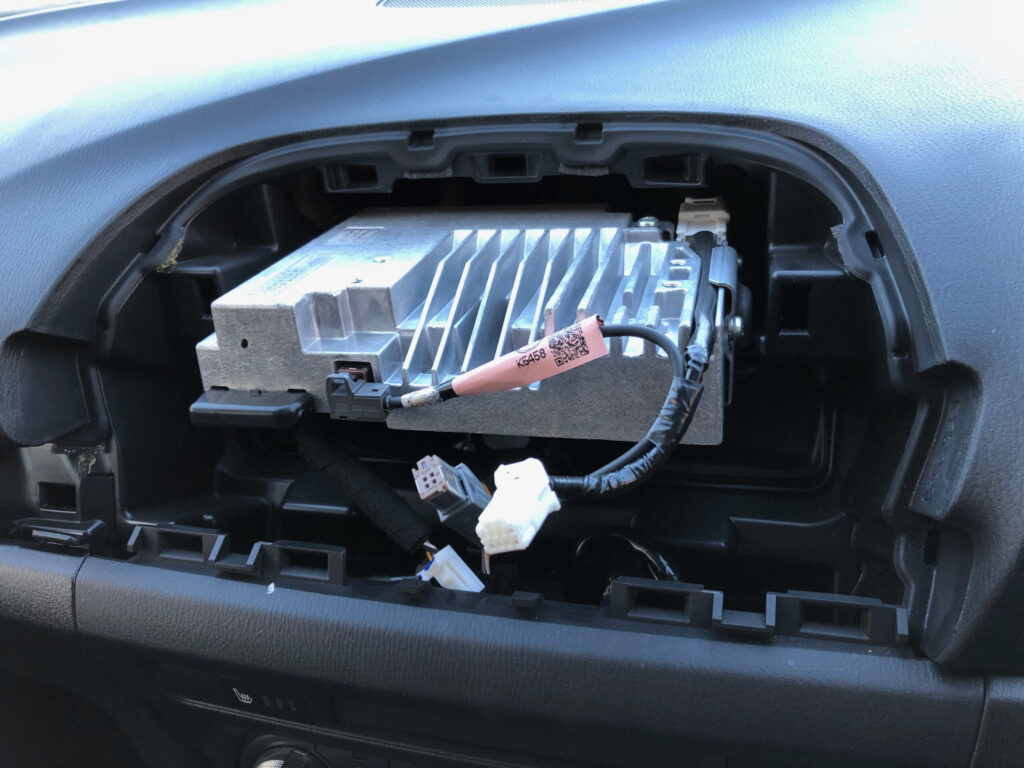
The process took me a couple of hours and the mod works perfectly. I purposely took my time to avoid damaging any of the trim.

Disclaimer: This is a summary of how the workaround worked for me and is not the official or necessarily the correct way.


Posted

in

by

Comments

Leave a comment

This site uses Akismet to reduce spam. Learn how your comment data is processed.

Create a website or blog at WordPress.com